TIP ASSEMBLY PROCEDURE
Installing your stick tip can be done with or without glue. At Tribe, we typically prefer not to use glue as it is convenient and easy.
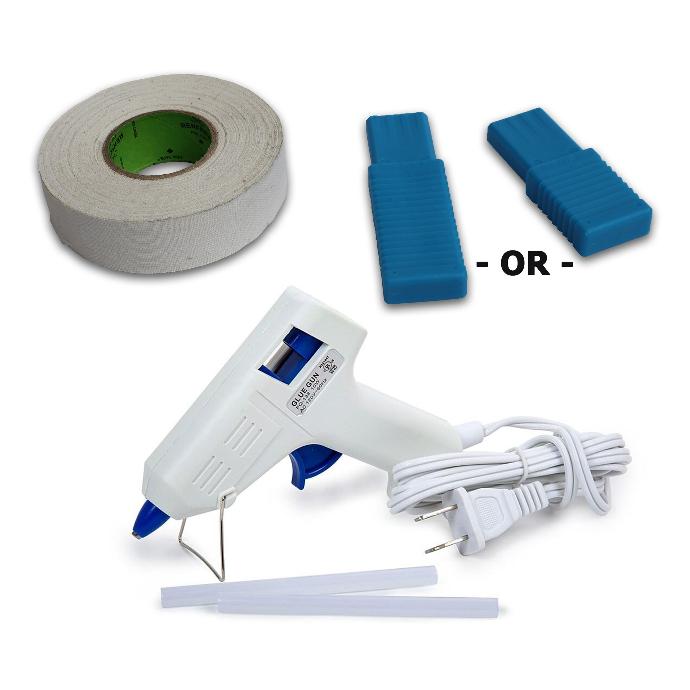
Step 1: What you will need
- Stick tape ( 1 in wide )
- Stick tip
- Hot melt glue gun (optional)
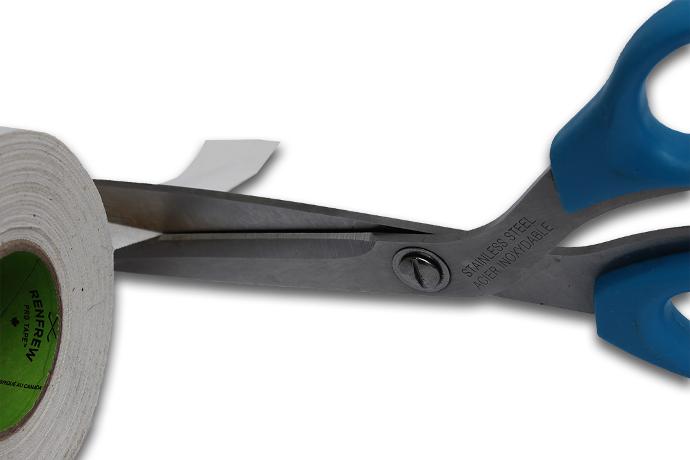
Step 2: Cut tape
Using scissors, cut a piece of stick tape 3 inches long.
**Try to cut the edge as straight as possible.
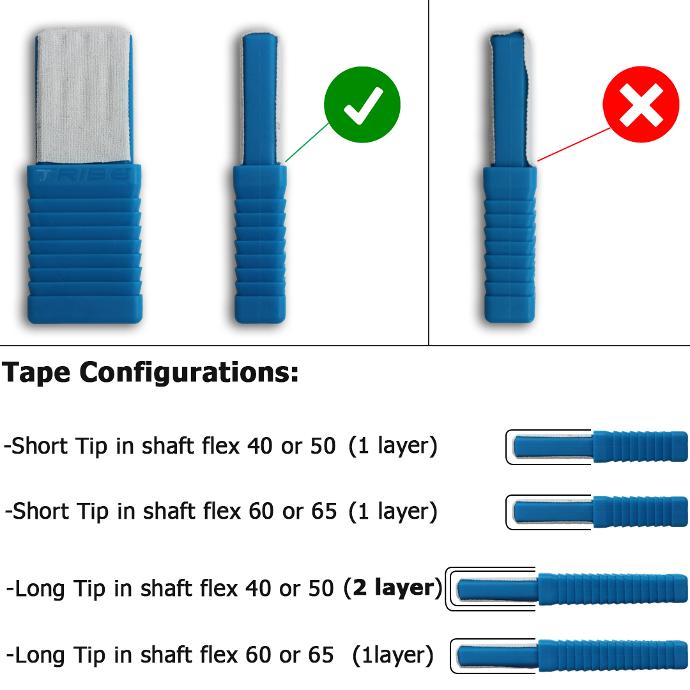
Step 3: Apply tape to stick tip
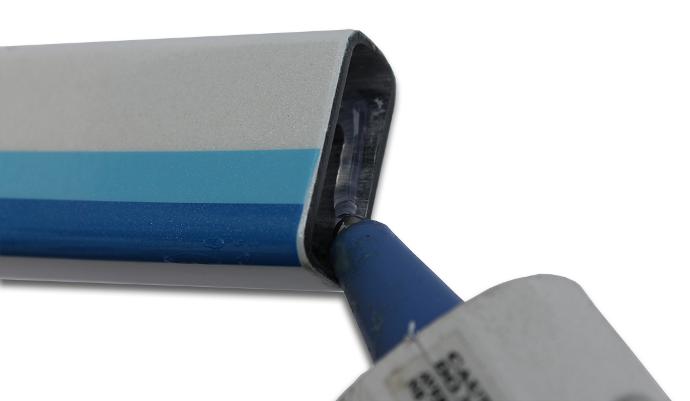
Step 4: Apply glue
At the tip receiving end of the shaft, apply a generous amount of glue to all 4 inside surfaces of the shaft.
**This is an optional step to make the tip even more secure.
Step 5: Insert tenon of stick tip
Slightly insert the tenon of the stick tip inside the tip receiving end of the shaft.

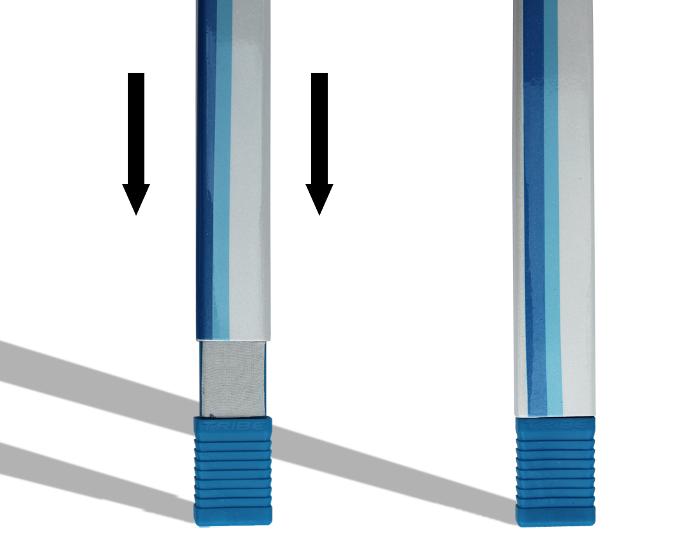
Step 6: Push tip inside shaft
With the stick tip resting on the ground, smoothly push the shaft down the tenon of the tip.
The shaft should be pushed down as straight as possible. Bending the tip, when not fully inserted, can break the tip.
**Avoid hammering the tip in the shaft by hitting the tip on the ground as this can break the tip when not fully inserted.
Questions?
If you have any questions or comments about replacing your stick tips, please feel free to contact us.